Cookie cutters are very versatile tools: not only useful for shaping delicious cookies, but also great as templates in craft projects, including blackwork embroidery!
For this tutorial I embroidered two classic Christmas characters, Mr and Mrs Gingerbread, but you can use cookie cutters in any shape you desire :-)

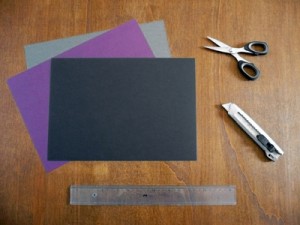
Here is a list of what you will need:
- cookie cutters
- an HB pencil
- white evenweave fabric
- black embroidery thread for the fill-in pattern
- gold cord for the outlining (or a thick black thread, if preferred)
- sewing thread in a matching colour to the outline thread
- needle
- scissors
- a frame or a hoop (optional, but suggested)
–
Tracing the design
Lay out your cookie cutters on the fabric and try different arrangements until you find one you like.
Draw outlines around each shape with an HB pencil.


Working the fill-in patterns
Mount the fabric into the frame.
Choose one or more fill-in patterns suitable for your project, and work them in the shapes, using backstitch or double running stitch (Holbein stitch).

You can use one strand of black cotton floss or, why not, a fine metallic thread (mine was a shiny black and gold thread: Aurifil Brillo #646)

Outlining
Free-form designs like this can be outlined in many ways using different embroidery stitches, like stem stitch or chain stitch, but for this project I decided to use a thick gold cord secured with a simple couching stitch.

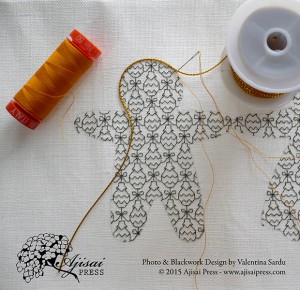
Choose a starting point and secure the couching thread (a fine sewing thread) on the back of the fabric.
Lay the metallic cord along the pencil marks and hold it in place with the finer thread, making tiny regular stitches.
The gold cord in the pictures was couched using a 50wt thread in a yellow-orange colour: Aurifil Makò Cotton #2145.
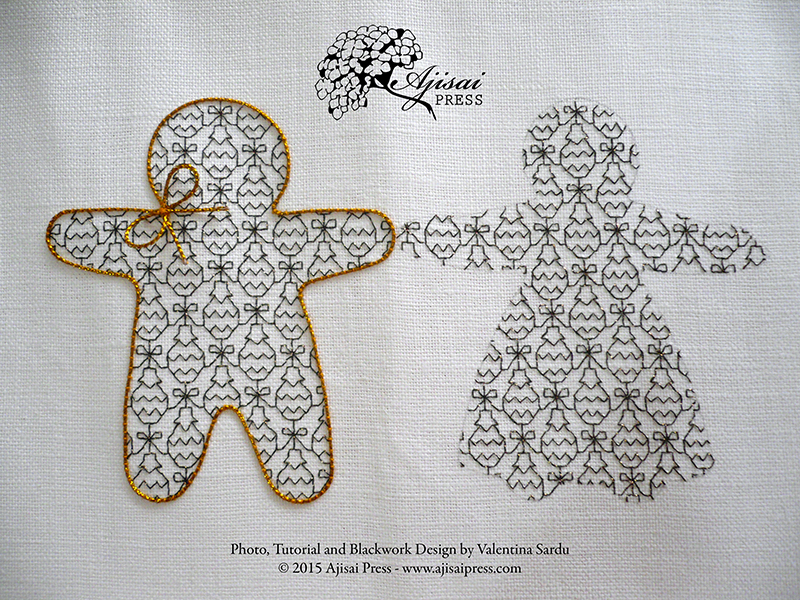
When all the outline is done, tie the two unsewn ends of the cord in a bow. Secure the centre with the sewing thread and trim the excess cord.
As an alternative to the bow, if the couched cord is not too thick, you can pull it to the back of the fabric, using a large needle or a crochet hook. Buttons, beads or other charms can be added to the design, if desired.


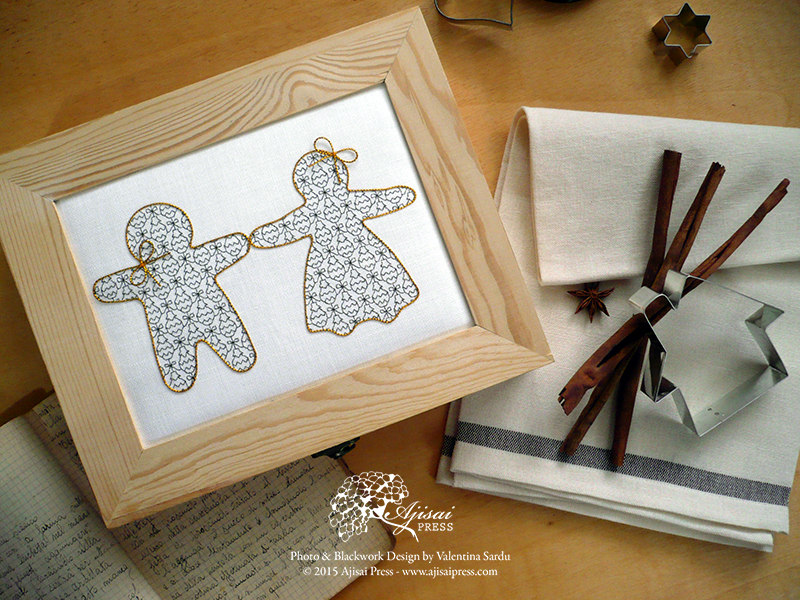
Now the embroidery is finally ready to be framed!

The model used in this tutorial was mounted in the lid of a wooden box, perfect for a Christmas gift!

Here is the blackwork filling designed for the occasion:

This pattern, combined with metallic threads, will give a festive look to your projects :-)
Happy stitching, and happy holidays!


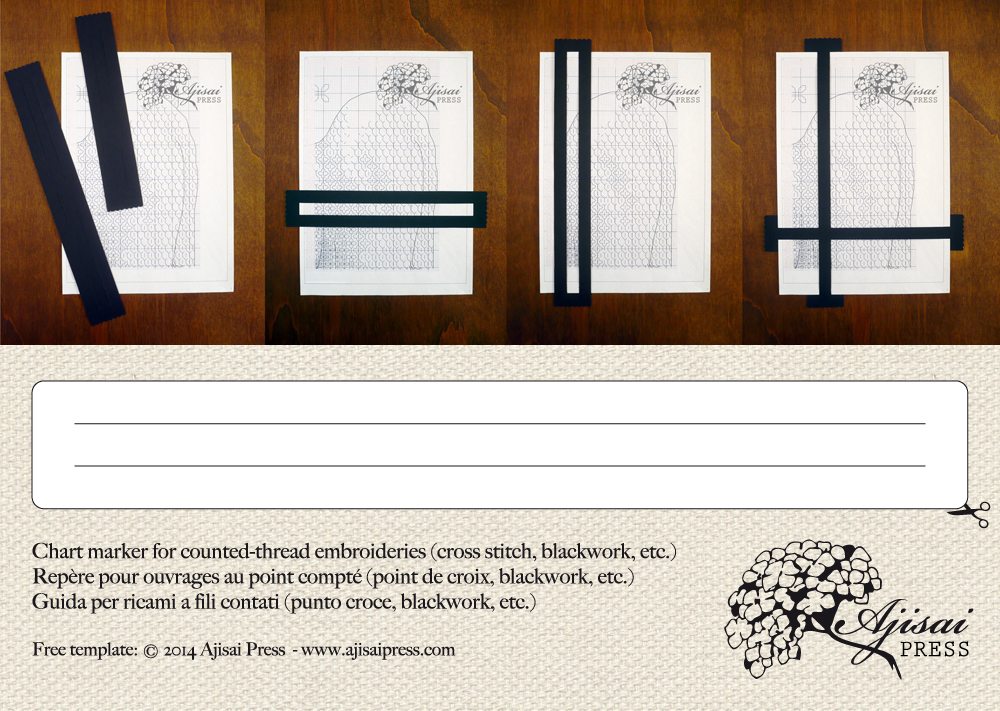
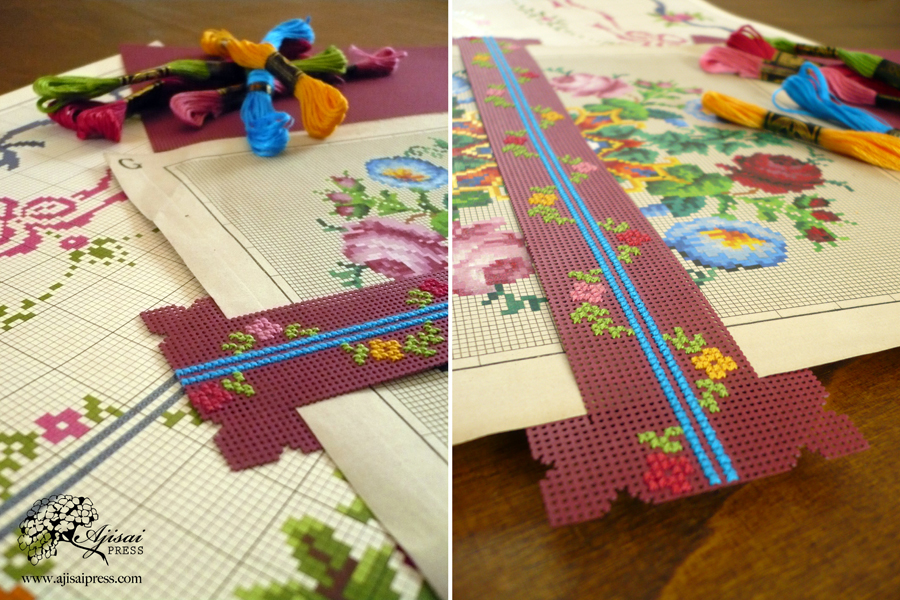
 Some charted designs for counted-thread embroideries, especially
 Then, following the template below, cut two horizontal lines with the same width of the pattern sheet.
 Of course, you can make many other markers in any size, colour and material.