 Some charted designs for counted-thread embroideries, especially Blackwork, are very intricate and it’s easy to lose track of stitches.
To avoid this, you can:
– make a photocopied “working copy” of the pattern and use a highlighter to mark the completed areas
– fix the original chart on a metal board, and surround the area where you are working with magnetic strips and rulers (see photo to the right)
Alternatively, here is a simple and inexpensive chart marker that you can easily create by yourself:
–
DIY Chart Marker
–
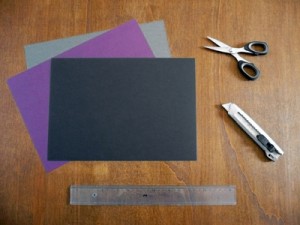
You will need:
- cardstock (preferably in a dark contrasting colour)
- ruler
- paper cutter
- decorative-edge scissors (optional)
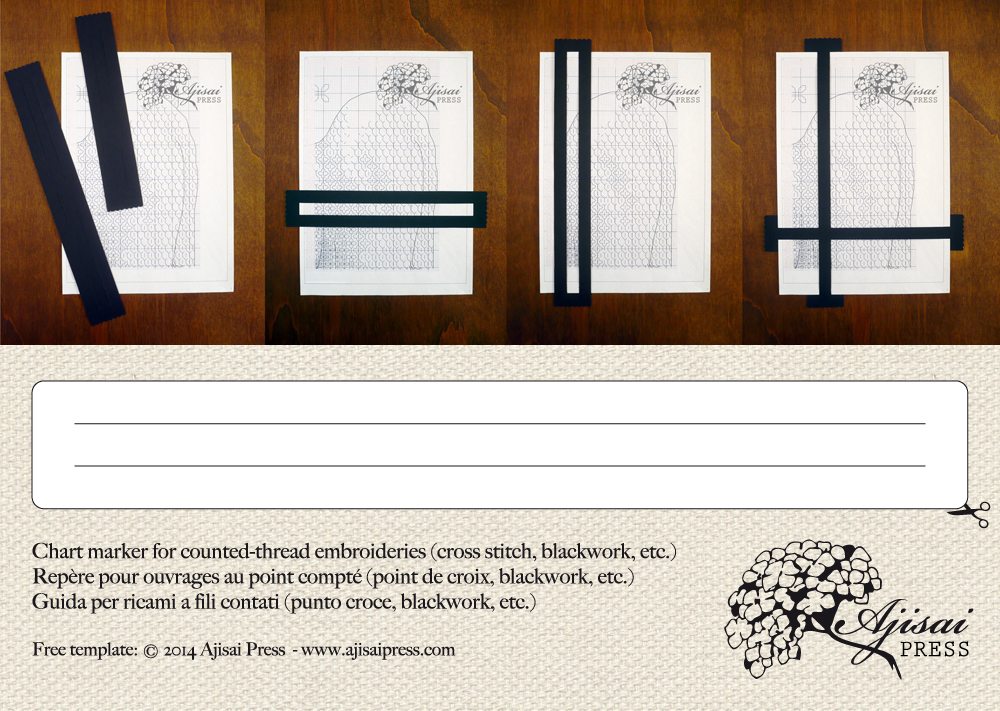
Cut a strip of cardstock, about 4,5 cm wide, and about 1,5 cm longer than your chart page on each side.
If you want, you can also decorate the two lateral edges using a pair of scalloped scissors.  Then, following the template below, cut two horizontal lines with the same width of the pattern sheet.
Your chart marker is now ready to be used: insert the chart through the two openings, and slide and position the marker where you need it.
You can use it alone or combined with another marker, with single sheets or with books and magazines.

 Of course, you can make many other markers in any size, colour and material.
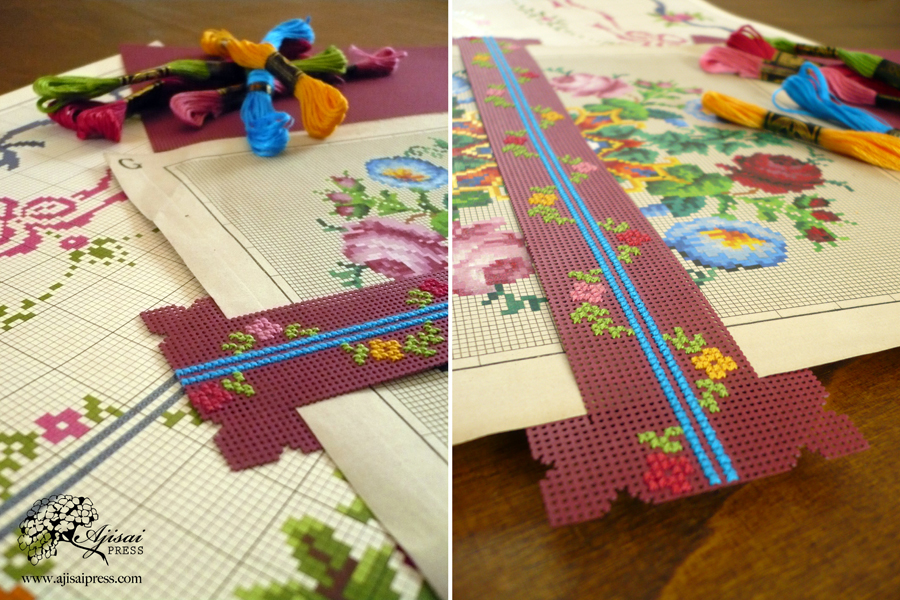
You can also add a personal touch using a colorful patterned cardstock or, why not, a piece of perforated paper worked in cross stitch.
–
The chart marker below was stitched on 18-count burgundy perforated paper with stranded cotton threads, using a floral motif from the book “Vintage Cross Stitch Borders“.
–